Gable Shed Building Plans
20x6 Workshop Outbuilding Crafting Diagrams - How To Correctly Set Up An Outdoor Shed

Using a circular saw, create a shoulder segment and a series of cuts parallel to the shoulder, then remove the scored lumber with a wide chisel. Your local building codes may also require the use of hurricane ties for each truss member where it rests on top plate. This allows siding to go over the top of metal flashings. Apply the paper up to roof vents or other obstructions, then resume on either side. Take the posts down and trim notches. You should also contact ( https://sheddrafts.com/4x8-lean-to-shed-building-plans-blueprints ) your local building inspector to see if there are specific regulations in place governing the pitch of your shed roof.
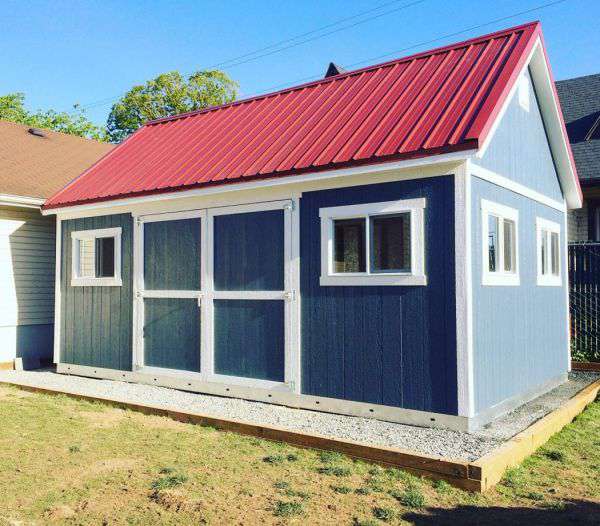
Nail end studs in place through plates with 16d framing nails and a hammer, two nails into the end of each stud. The end result is shed has two doors, one on the front and a second made from the side panel. If you only need a small assortment of gardening tools and a regular push mower to fit, then a small outbuilding might do the job. On all sides but the front, we made roofing overhang the edge such that any dripping water wouldn't go directly onto the wooden trim. The top of the side panel does rest inside lid which should provide some protection.
Most new construction uses 2-by-8 lumber for joists. Mark and slice the ( click for source) side trim pieces. As you could easily notice in the diagram, you need to slice out opening for the door. Butt another 2x4 over tops of the legs. Use a spirit level to plumb the supports and to construct sure the top ridge is perfectly horizontal. No tie plate is necessary for in-place wall framing. Join the pieces of your struts with pre-fabed metal connector plates. To allow door open and close these tabs need to be segment flush with rail so tabs are no longer holding side panel to floor.
We ended up using heavier plywood on the roof and thinner stuff on the sides. Floor trusses are engineered as an entire system to accommodate a specific floor plan and its load-bearing needs. Check with your chamber of commerce to find out what building codes you may need to follow with your shed's construction. Use this mark to position joist hanger at right height, as joist hangers are typically shorter than height of the joist itself. They don't add weak points to the line and are very easy to untie. Tamp down or dig the ground so that you have a nice level surface to support the frame of your floor.
The back of the roof was built right after two front gables were done to ensure that the roof stayed straight, plumb, and level. You should assess objects you would store inside the shed, to design its size accordingly. Work with attention and with great care, making sure you don't leave any gaps between sheets. Another consideration is what you plan to use outbuilding for. Sheathe the other side of shed in the same continent. Before the concrete hardens in piers, set pier or post ties and align in place. Most deck frames are made from treated white wood, or pine, which has strengths almost identical to untreated pine.
We offer homeowners convenient ways to pay for their new shed that don't take too much cash flow away from your monthly budget. While a stud wall could be built in place, similar to furring strips, the traditional method is to make it on the floor and erect it against the wall. Use a tape measure, speed square and pencil to mark stud locations. They may be butted end-to-end and connected with timber gusset plates or lapped. Smaller sheds are lighter, especially if made of plastic or light steel. Once the curved braces have been cut, align them on the framework above position and mark where they need to be cut.
Flooring layout is simple because with only studs there are no holes for windows or doors so there are no extra pieces or parts, just joists. Larger sheds are often more structurally complex. Gravel is a naturally eroded material and crushed stone is just that, mechanically crushed stone or rock. Each truss member is numbered and the first step is to transfer numbers to the top wall plates, according to the diagram. Take accurate measurements and use a circular saw to get the job done in a professional manner. When that first is is done the rest are easy because you simply lay the first deep groove directly on top of the last groove of the previous panel.
Day 2 was a full day of construction from frame to finish.