Gable Shed Building Plans
Drawings For Crafting 6 x 12 Backyard Outbuilding - Ideal Steps For Setting up an Outdoor Shed

An important thing to remember, if an insulated roof is being installed, be sure to allow for an air gap between roof deck and insulation for ventilation purposes. Let concrete dry for a day. You could easily adjust size of your firewood storage shed, if you want to store more wood, as this construction is modular. The next step is to put in the horizontal boards you see along tops of the walls, the ridge board, and begin framing in the end for main door. Nail all vertical boards to horizontal blocking with nails (https://sheddrafts.com/8x10-outdoor-shed-building-plans-blueprints) spaced approximately 75mm apart including nail that would be going through the batten.
Notch hardwood to fit around the framing. Work on a level surface if you want to get consistent results. Once the door openings have been made, use 2-by-4 blocking flush with outside edges of posts, between the girts and between the posts and the siding. Wait to install siding on the dormer until you've installed the dormer flashing, step flashing and shingles. Then attach a piece of siding to this half-door frame. Standard wall studs are too short for in-place framing, so builders use regular 8-foot-long, two-by-four lumber, and trim each stud to fit between the top and bottom plates.
This being said, once completed, you will have a very strong roof that could take a lot of snow weight. Each (website here) of four sides has a single slope that starts with a point at top. Using a transit and top dressing it where needed. Since you're making roof trusses for sheds, you must know at least some of the basics and elements that you need for building your design using your roof truss schematics for sheds. It sits on the ground which means you need a flat area. We ended up using heavier timber on the roof and thinner stuff on sides.
Stick framing is flexible and may be altered without compromising the structure. We used hydraulic jacks to lift and stabilize structure. Install roofing felt, shingles, and drip edge. The pitch is the total vertical rise from the top of wall to the top of the ridge, compared to the total span from support wall to support wall. The far side of wall will curve right around spiral staircase when it is installed. For detailed plans take a look over the schematics. In essence it really simply goes together. We used decorative cuts to fashion those ends and add an attractive touch.
From there, the size and spacing options would be discussed. These homes, however, do not have earth plaster roofs. Mine was made out of a hodge-podge of recycled offcuts. But hey, your bins are probably a different size to mine anyway. Cut gussets as shown on illustration above. With particle board, you can place your screws or nails anywhere without worrying about hitting a stud. Then he screws them into the joint between the roof and the wall to create a gradual transition. Then position and nail them to the plates. Place anchor bolts in concrete for securing walls, taking care to avoid vertical frame locations and wall openings.
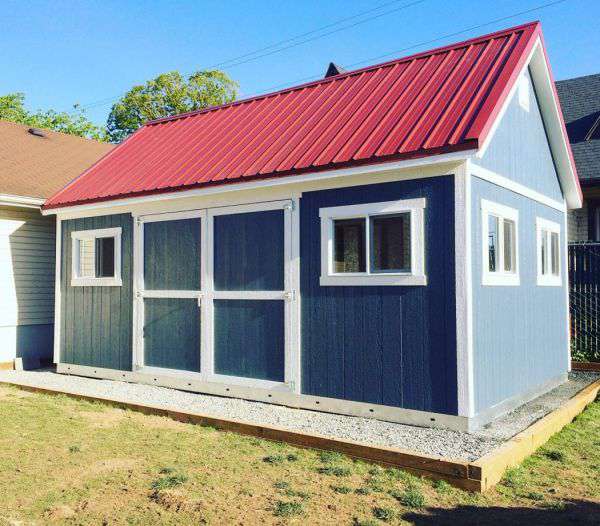
We painted the door a light blue to match trim on our house and added a small vent to help ventilation. Not ideal for heavy machinery due to structural weight bearing as the floor isn't fully supported. It is also always good to have help when doing these things not only to craft it easier but more enjoyable as well. While this might not seem important in areas that don't get a lot of rain or snow, when you live in an area where you get heavy winter snows, you are sure to appreciate fact your shed's roof survives each winter intact.
You can also construct a double wall around a home theater for exceptional soundproofing. You have a lot of options when it comes to windows and doors on a simple outbuilding like this. Plan the shingle installation and chalk lines so old and new shingles line up. Clean bottom of cut with a chisel. We are blessed to have some fantastic used house parts stores in our area like Habitat for Humanity, but we were able to source our materials in a many ways. Some need a small excavator with a special attachment to screw them into ground to the frost line.
That extra coating is just another layer that could protect your supplies during a harsh winter. The left over bit from that board would be used to start next row, just like hardwood floors.